


How to Create and Print Temporary Tattoos
Creating and printing temporary tattoos at home can be a fun and creative process. Whether you’re planning a themed party,
looking to test a tattoo design before committing to the real thing, or just want to enjoy a bit of body art without the permanence,
DIY temporary tattoos are a great option. In this guide, we’ll explore how to print temporary tattoos using tattoo transfer paper and share some tips for the best results.

What You’ll Need
Before you begin, you’ll need to gather a few supplies. Here’s what you’ll need to create your temporary tattoos:
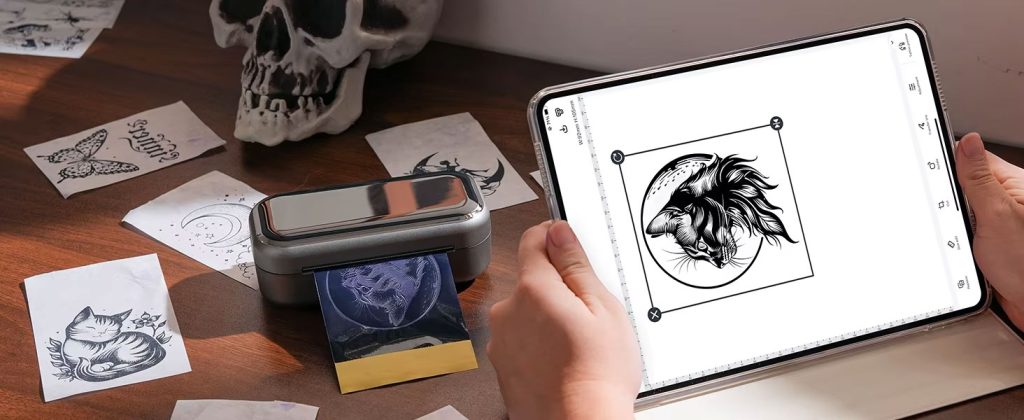
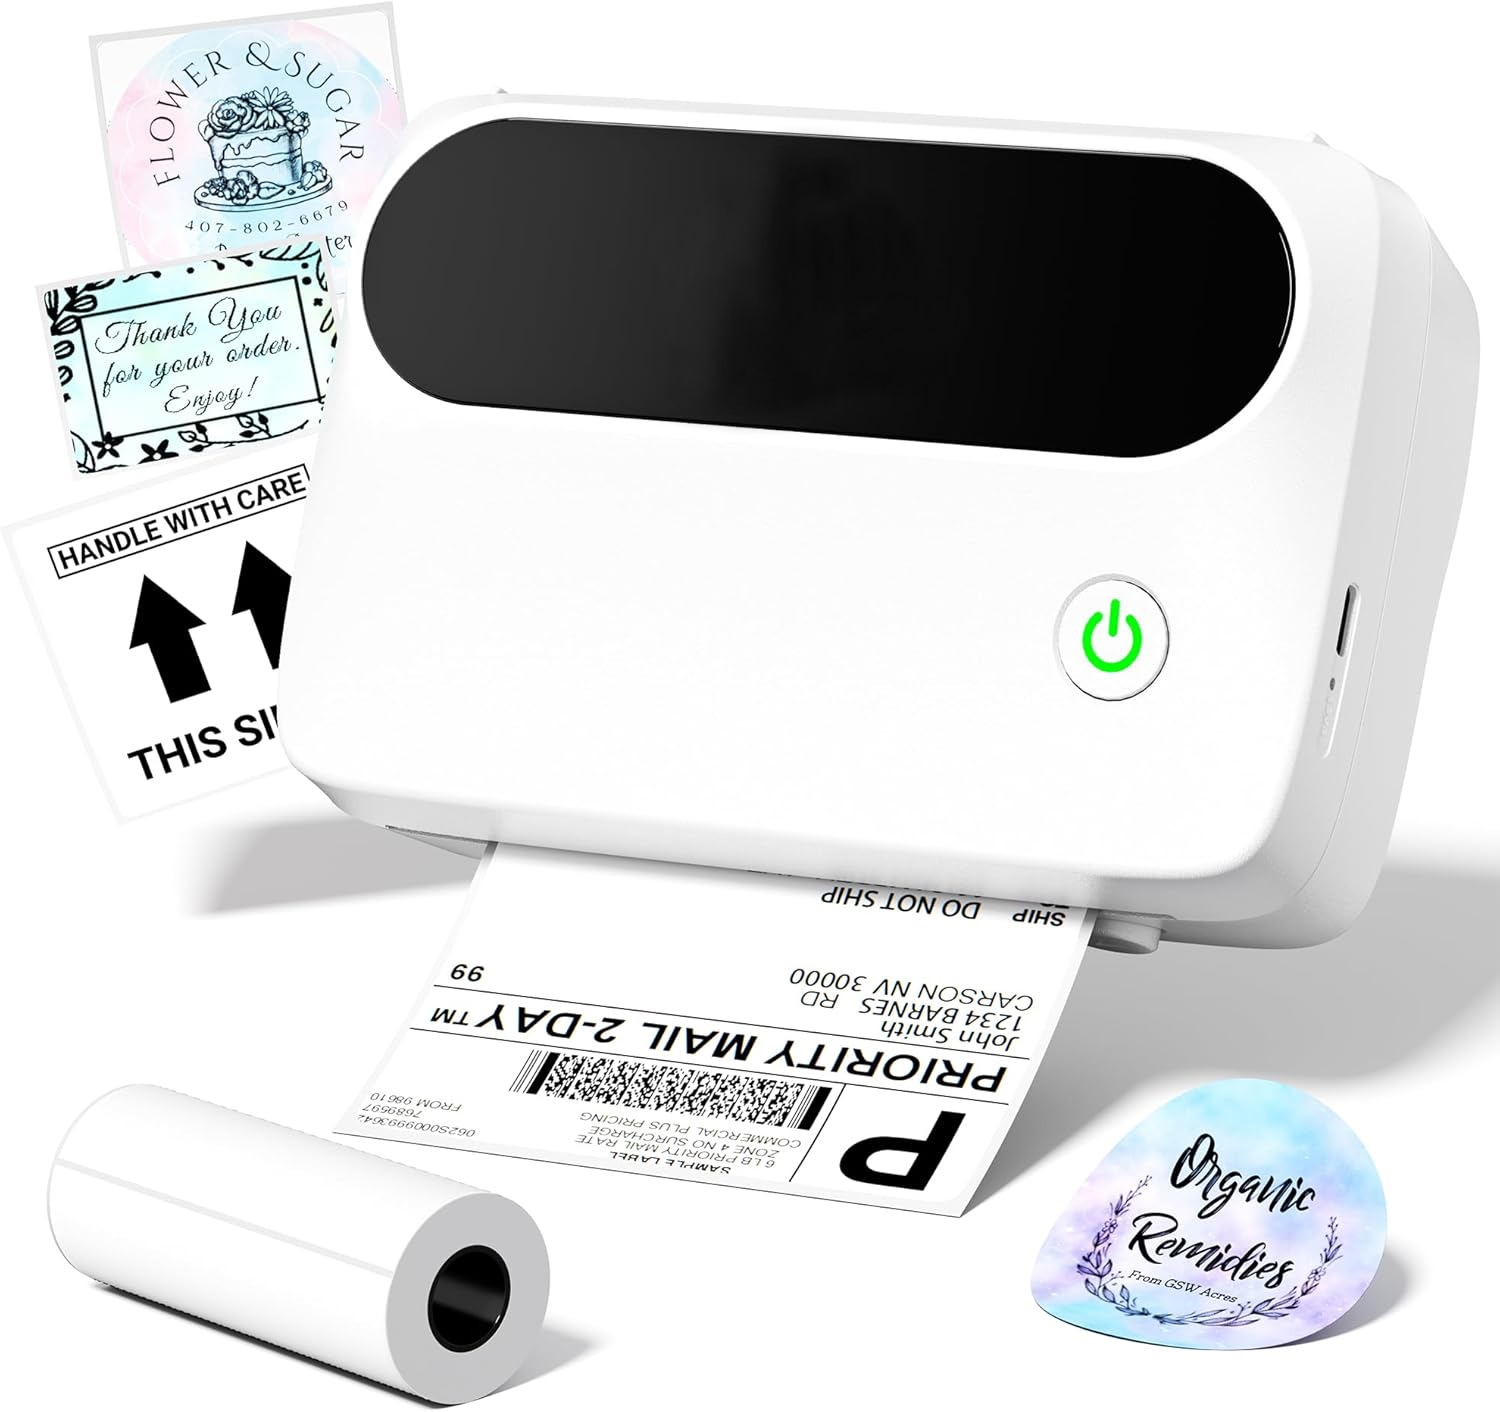
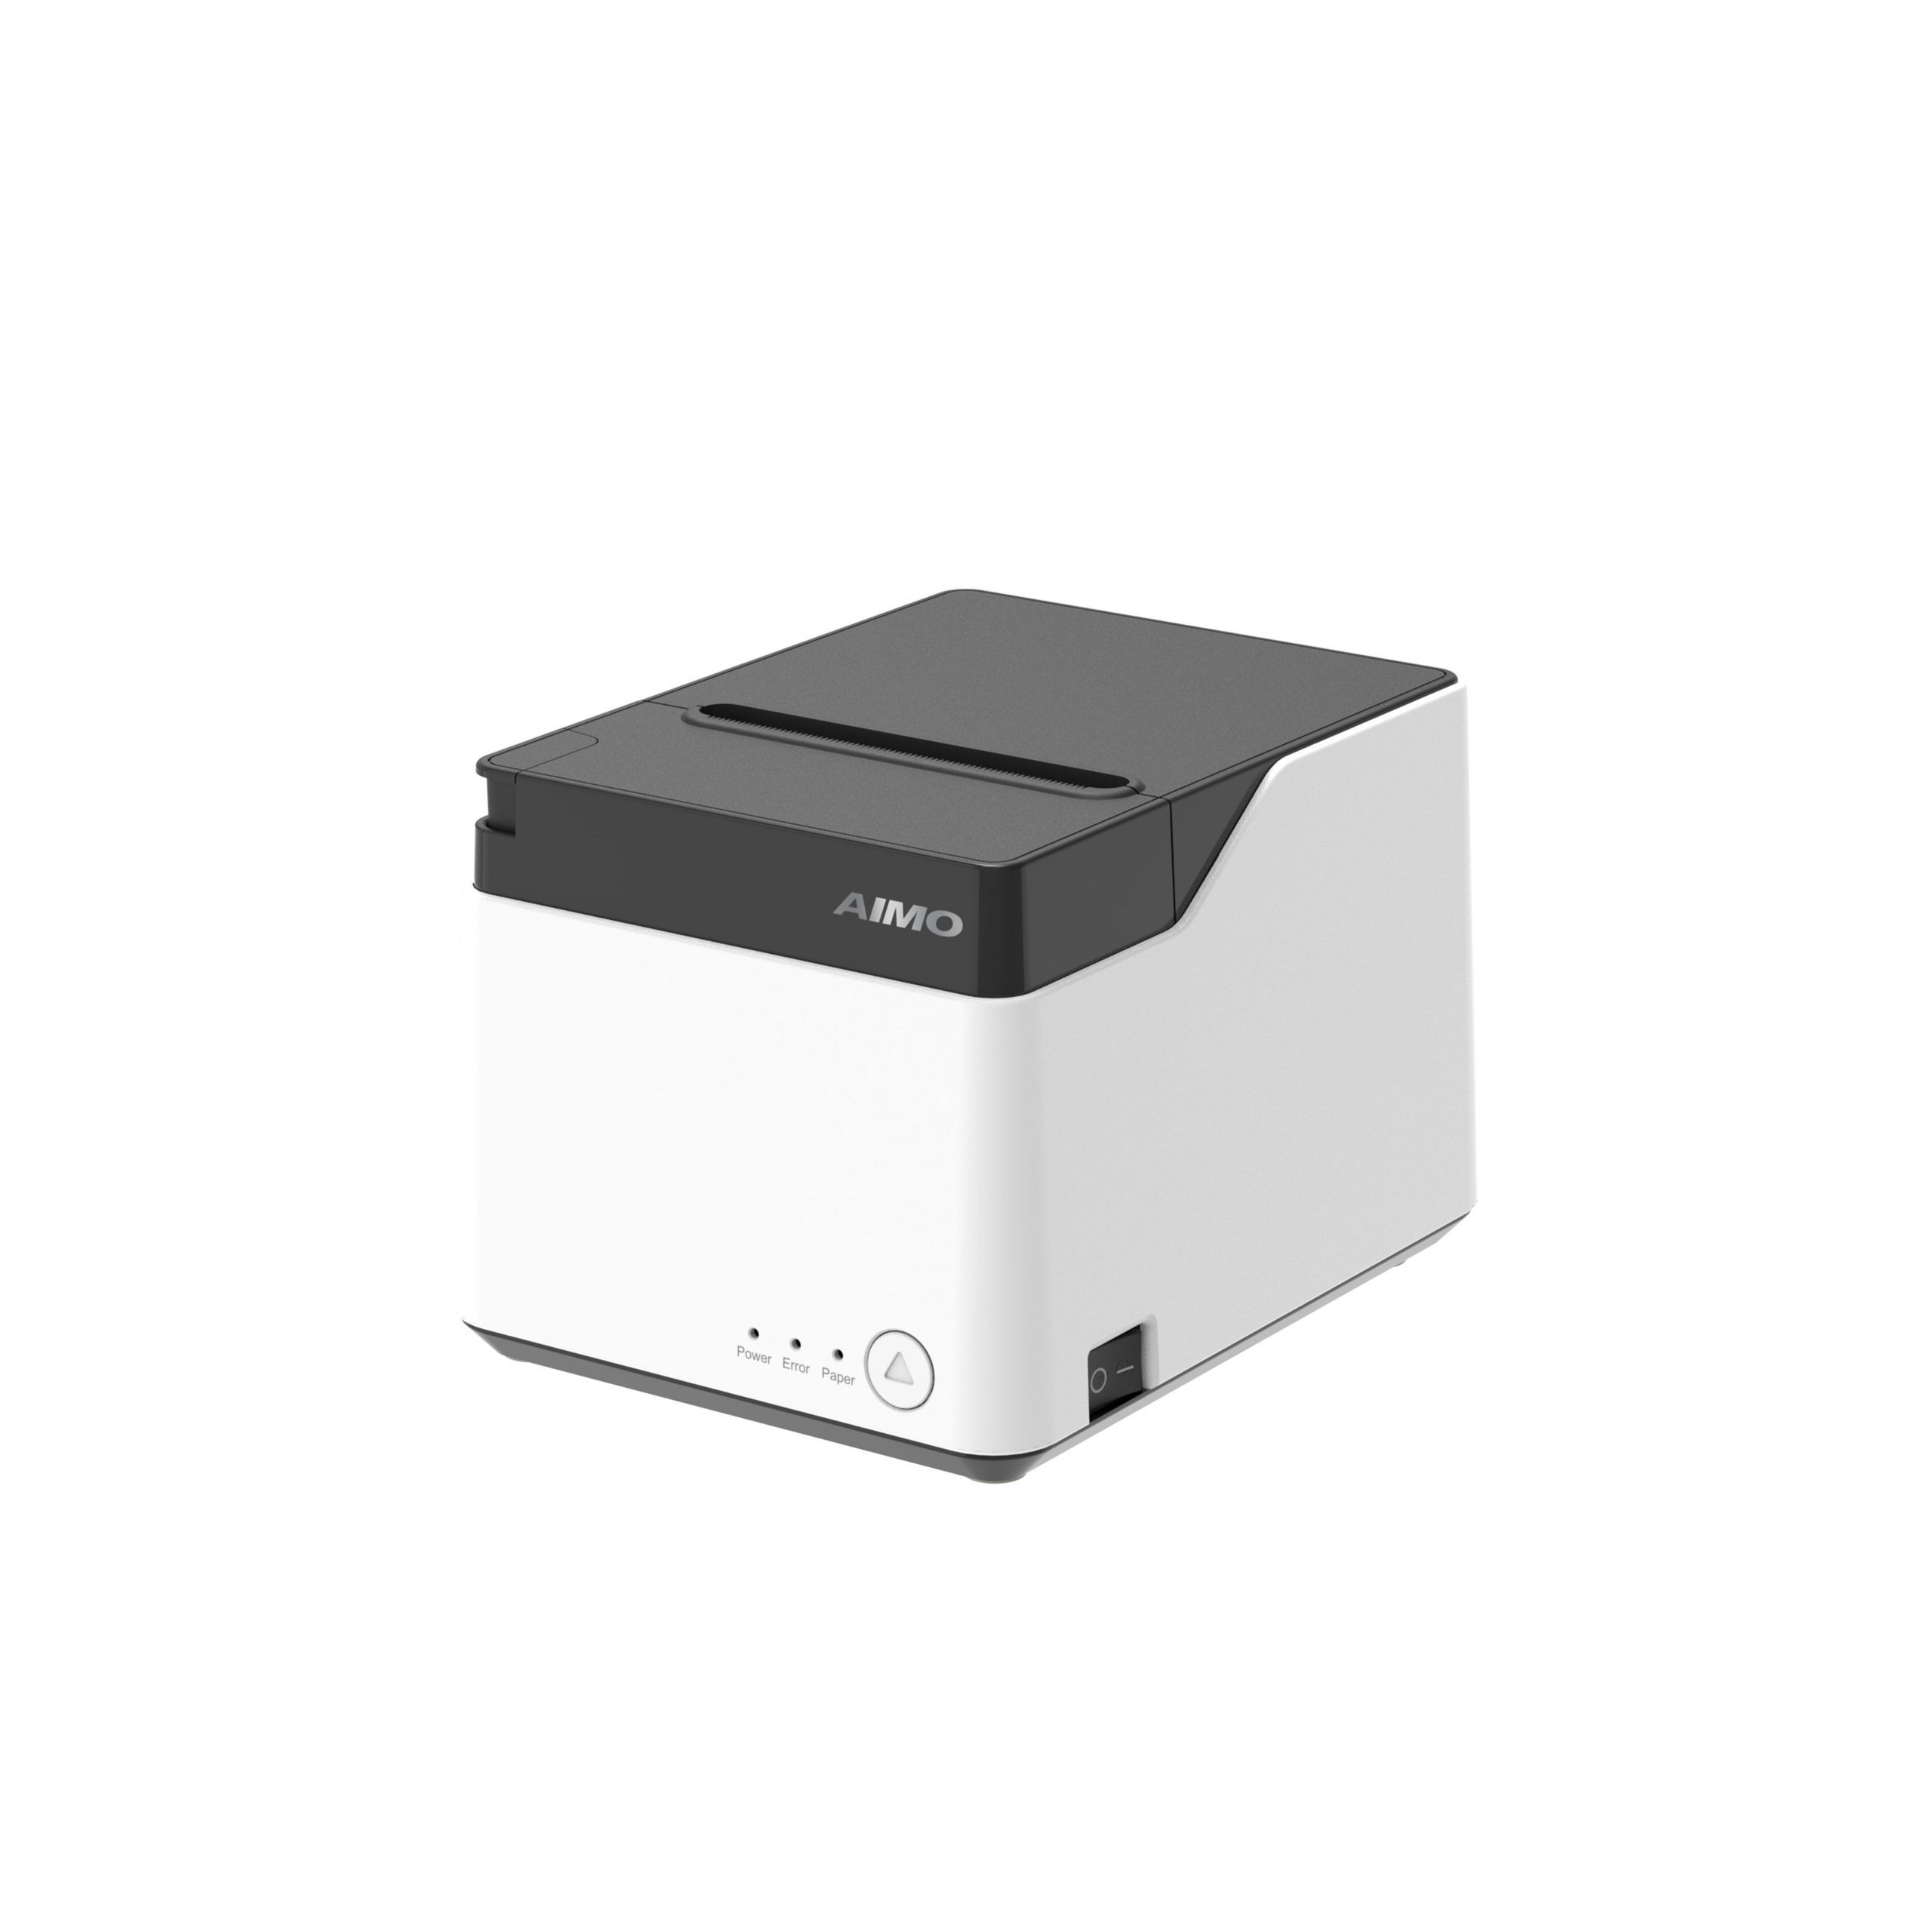
- Tattoo Stencil Printer: A mini portable tattoo printer can bring you great convenience.
- Tattoo Transfer Paper: This special paper is key to transferring your design onto your skin.
- Design Software: AIMO Tattoo Printer provides free and powerful tattoo software.
- Scissors: For cutting out your tattoos.
- Tattoo cream or tattoo transfer fluid: To help transfer the tattoo.
- Towel or Sponge: To apply the tattoo to your skin.
How to Transfer Tattoo Stencil to Skin: Step-by-Step Guide
Step 1:Designing Your Tattoo
The first step in creating your temporary tattoo is to design it. This is where you can let your creativity shine. Here are some tips to get started:
Choose Your Design
Select a design that you love. This could be something simple like a symbol or something more intricate like a detailed drawing.
If you’re not confident in your drawing skills, you can find plenty of free tattoo designs online or use clip art.
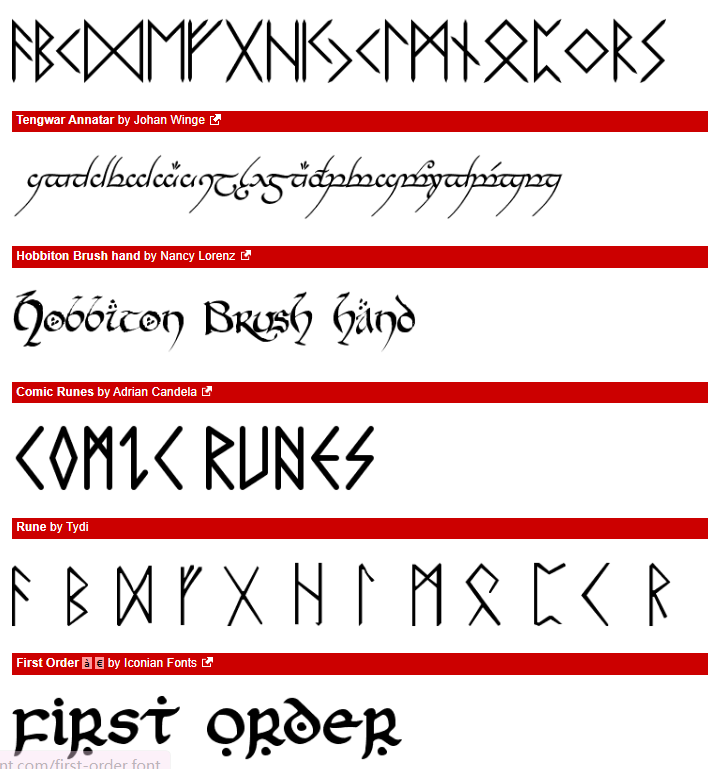
How to Discover 100+ Tattoo Lettering Styles?
Open Dafont.com. This website features numerous font styles—such as medieval Gothic, dark style, West Coast Old School bold fonts—and language tattoos from various countries.
Mirror Your Image
Before printing, ensure that your image is mirrored or flipped horizontally. This is crucial because the image will be reversed when transferred to your skin.
Step 2:Printing Your Tattoo
Once your design is ready, it’s time to print it onto the tattoo transfer paper.
Prepare Your Printer
Load the tattoo transfer paper into your printer. Ensure that you’re printing on the correct side of the paper, which is usually indicated on the packaging. Remember to remove the white protective paper in the middle of the tattoo paper.
Print the Design
Adjust the pattern size in the printing software and set it to mirror print on the tattoo transfer paper.
Step 3:Applying the Tattoo
With your design printed and ready, it’s time to apply the tattoo to your skin.
Cut Out the Tattoo
Carefully cut around your printed design using scissors. Try to cut as close to the design as possible to avoid excess paper around the tattoo.
Prepare Your Skin
Clean the area of skin where you want to apply the tattoo. Make sure it’s dry and free of any oils or lotions, as these can prevent the tattoo from sticking properly.
Applying tattoo cream
Apply a thin layer of stencil gel to the desired tattoo area to ensure a clearer transfer and longer-lasting stencil.
Transfer the Tattoo
- Remove the protective plastic layer from the tattoo paper.
- Place the tattoo face down on your skin.
- Use a damp towel or sponge to press down on the tattoo for about 30 seconds. Ensure the entire area is covered and wet, which helps the tattoo to transfer.
Reveal Your Tattoo
Carefully peel away the paper backing to reveal your new temporary tattoo. Be gentle to avoid tearing the tattoo.

Tips for Long-Lasting Temporary Tattoos
To make your temporary tattoo last longer, consider the following tips:
- Avoid Friction: Try not to rub the tattooed area, as friction can cause it to fade faster.
- Limit Water Exposure: While showers are fine, avoid soaking the tattoo in water for extended periods, like during a bath or swimming.
- Use Setting Powder: Dust a little setting powder or baby powder over the tattoo to help it last longer and keep it from smudging.
Removing Your Temporary Tattoo
When you’re ready to remove your temporary tattoo, the process is simple. Apply a bit of baby oil, coconut oil, or rubbing alcohol to a cotton pad and rub it over the tattoo.
This should help dissolve the ink and make it easy to wipe away.
Conclusion
Creating and printing temporary tattoos at home is a straightforward process that allows for endless creativity.
Whether you’re experimenting with designs or just having fun, temporary tattoos can be a fantastic way to express yourself without the lifelong commitment.
With the right tools and a bit of practice, you can master the art of DIY temporary tattoos and enjoy beautiful designs whenever you like.
For tattoo beginners or enthusiasts just wanting temporary tattoos, we recommend the AIMO Mini Stencil Printer. It comes with high-quality tattoo transfer paper, offers simple printer setup, and its software features an extensive template library plus the ability to import your own tattoo designs.